Wholemeal & White (’50/50′) Loaf
After the decadence of my previous post, I felt it was necessary to share something a little more wholesome. I also thought it was about time I included a basic bread recipe on my blog as it’s something I make so frequently, but was worried it might seem a bit basic and dull. What was I thinking? Although homemade bread can seem quite daunting if you’ve never made it before, it is a truly glorious and uplifting experience. Admittedly, it can feel like a bit of a slog if you’re doing the kneading by hand – although many people claim it to be quite a therapeutic process. If, however, you possess a stand mixer with a dough hook attachment, it is almost effortless and certainly doesn’t take much time to make. Proving and rising takes a few hours in total but of course you can be busy doing other things in that time – you don’t need to stand around and watch it! The reward is a thing of beauty; a loaf which not only looks beautiful, it tastes simply wonderful. And your home will smell like a fabulous bakery.
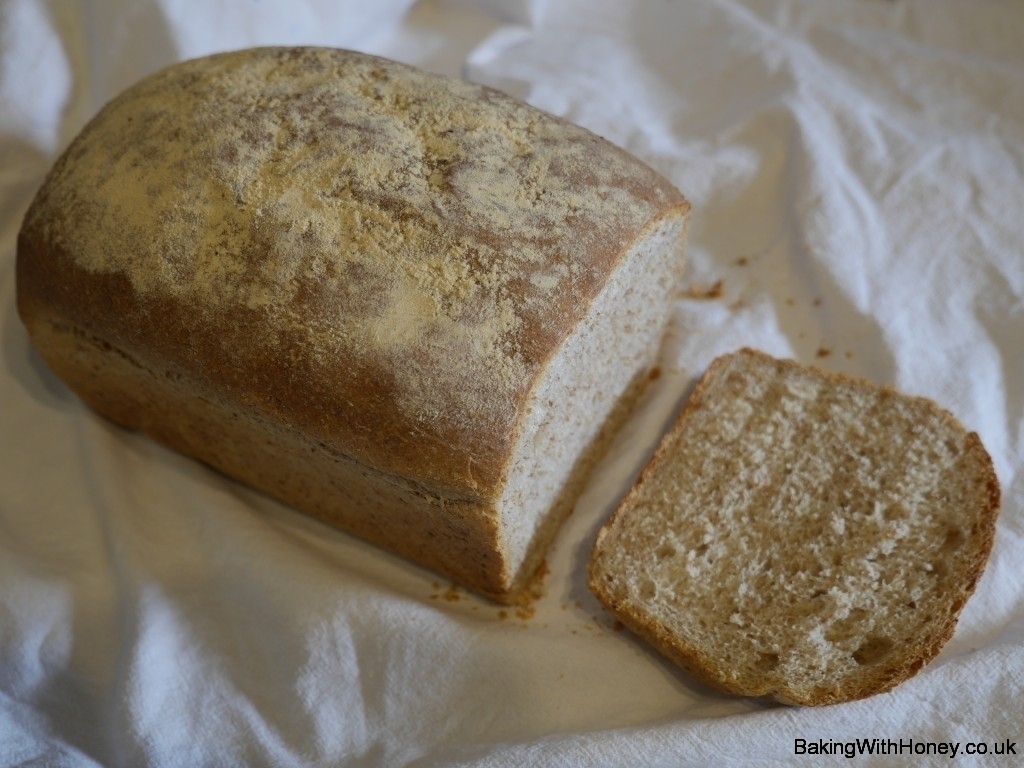
The wholemeal flour lends a gentle nutty taste and pretty colour, while the white keeps it springy and light. Standard supermarket sliced bread tastes of nothing; it is just there to hold a filling. A good home-made bread tastes so good and flavoursome, it needs nothing more than a slick of butter. Try it – real bread is simply amazing. This is the way I make mine, I hope you’ll love it as much as we do.
You will need a 2lb loaf tin. Please note that some 2lb loaf tins are significantly smaller than others; for this recipe you will need a larger one (quite possibly labelled as a 1kg tin instead.) It should measuring approximately 24cm x 14cm x 7cm. I use this one from Sainsbury’s – it is a heavy, good quality tin.
225g strong white bread flour
225g wholemeal bread flour
1 tsp salt
1 x 7g sachet of fast action yeast (equivalent to approx 2 level tsp)
1 tbsp rapeseed, sunflower or olive oil
275ml cool water (room temperature)
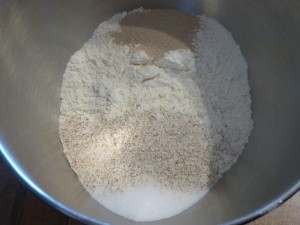
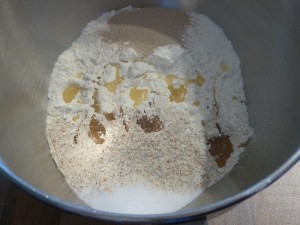
Measure the flours into your mixing bowl, then add the salt and yeast, preferably to opposite sides of the bowl, as salt can hinder the way yeast works. Sprinkle in the oil.
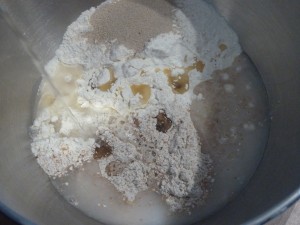
Now pour in the water. At this point, you could just put it straight to work under a dough hook if you like; I like to bring the mixture together myself though (I use a flexible dough scraper for this – any solid spatula will work though).
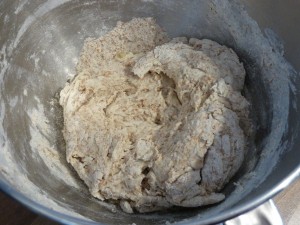
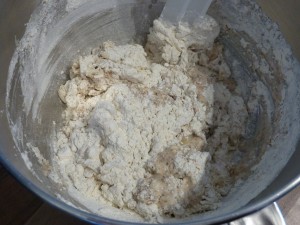
When you’ve brought the mixture together, use the dough hook attachment on your mixer and let it knead on a low speed for a good eight minutes. Seriously, it’s incredibly hard to over-knead bread. But it’s all too easy to under-knead! So let it get on with the magical transformation and don’t worry. If you’re kneading by hand, you can tip it out now, on to a floured surface, and knead for a good 10-15 minutes. You know when it’s ‘done’ – you can run a finger gently along the dough and it will feel silky.

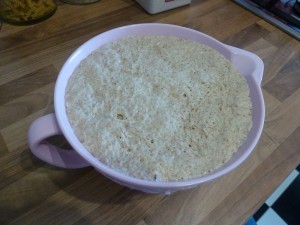
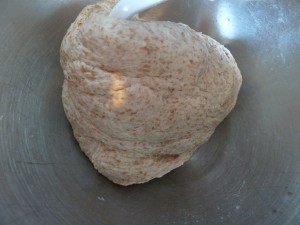
Place the kneaded dough into an oiled bowl, and roll it around so it is coated in the oil. Cover with a tea towel, plastic shower cap or cling film, and leave to prove for a good 1-2 hours, depending on the room temperature. No special particularly warm room is required – it will double in size (at least!) in its own time.
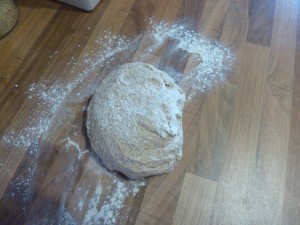

Gently scrape out the risen dough on to a floured surface and knock it back. This just means kneading it for a few minutes, so that you knock the air out of it. My daughter likes to get stuck into this bit!

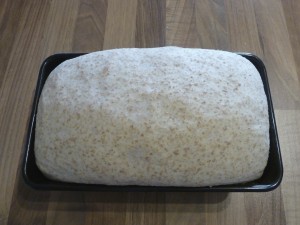
Grease your loaf tin with a little oil, and shape the dough. I aim for a sort of oblong shape, tucking the ends under. Place it in the tin, and cover again. I tend to use one of those pop-up food covers for this – then drape a large tea towel over. That way, nothing sticks to the dough. Leave it to rise for another hour or so, until doubled.
When you think it’s ready, preheat the oven to 220c / 425f / gas mark 7.
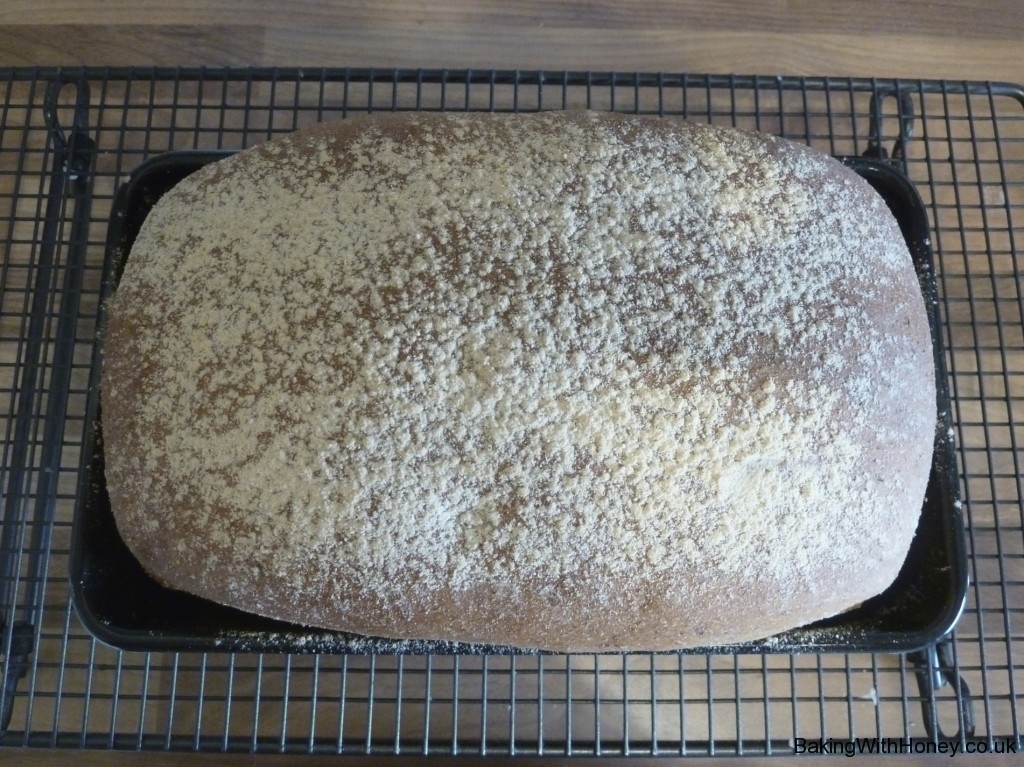
When your oven has preheated, place the loaf in the centre and bake for 35-40 mins. It will look really deep golden brown. Don’t even think about taking it out when it only looks light brown! Colour is everything in bread – a deep golden brown is essential. When it is done, very carefully tip it out of the tin as soon as possible, on to a cooling rack. If you leave it in the tin, steam will form on the bottom of the loaf. You’ll end up with a soggy bottom and no-one wants that, do they? Allow to cool as much as you can before slicing and devouring.